DIY Solar Projects: How to Safely Install Solar Panels at Home


Understanding the Basics of Solar Power
Solar power is an increasingly popular choice for homeowners looking to reduce their energy bills and carbon footprint. By converting sunlight into electricity, solar panels provide a renewable energy source that can power your home efficiently. Before diving into a DIY project, it's essential to understand the basics of how solar panels work and what components are involved in a solar power system.
Selecting the Right Solar Panels
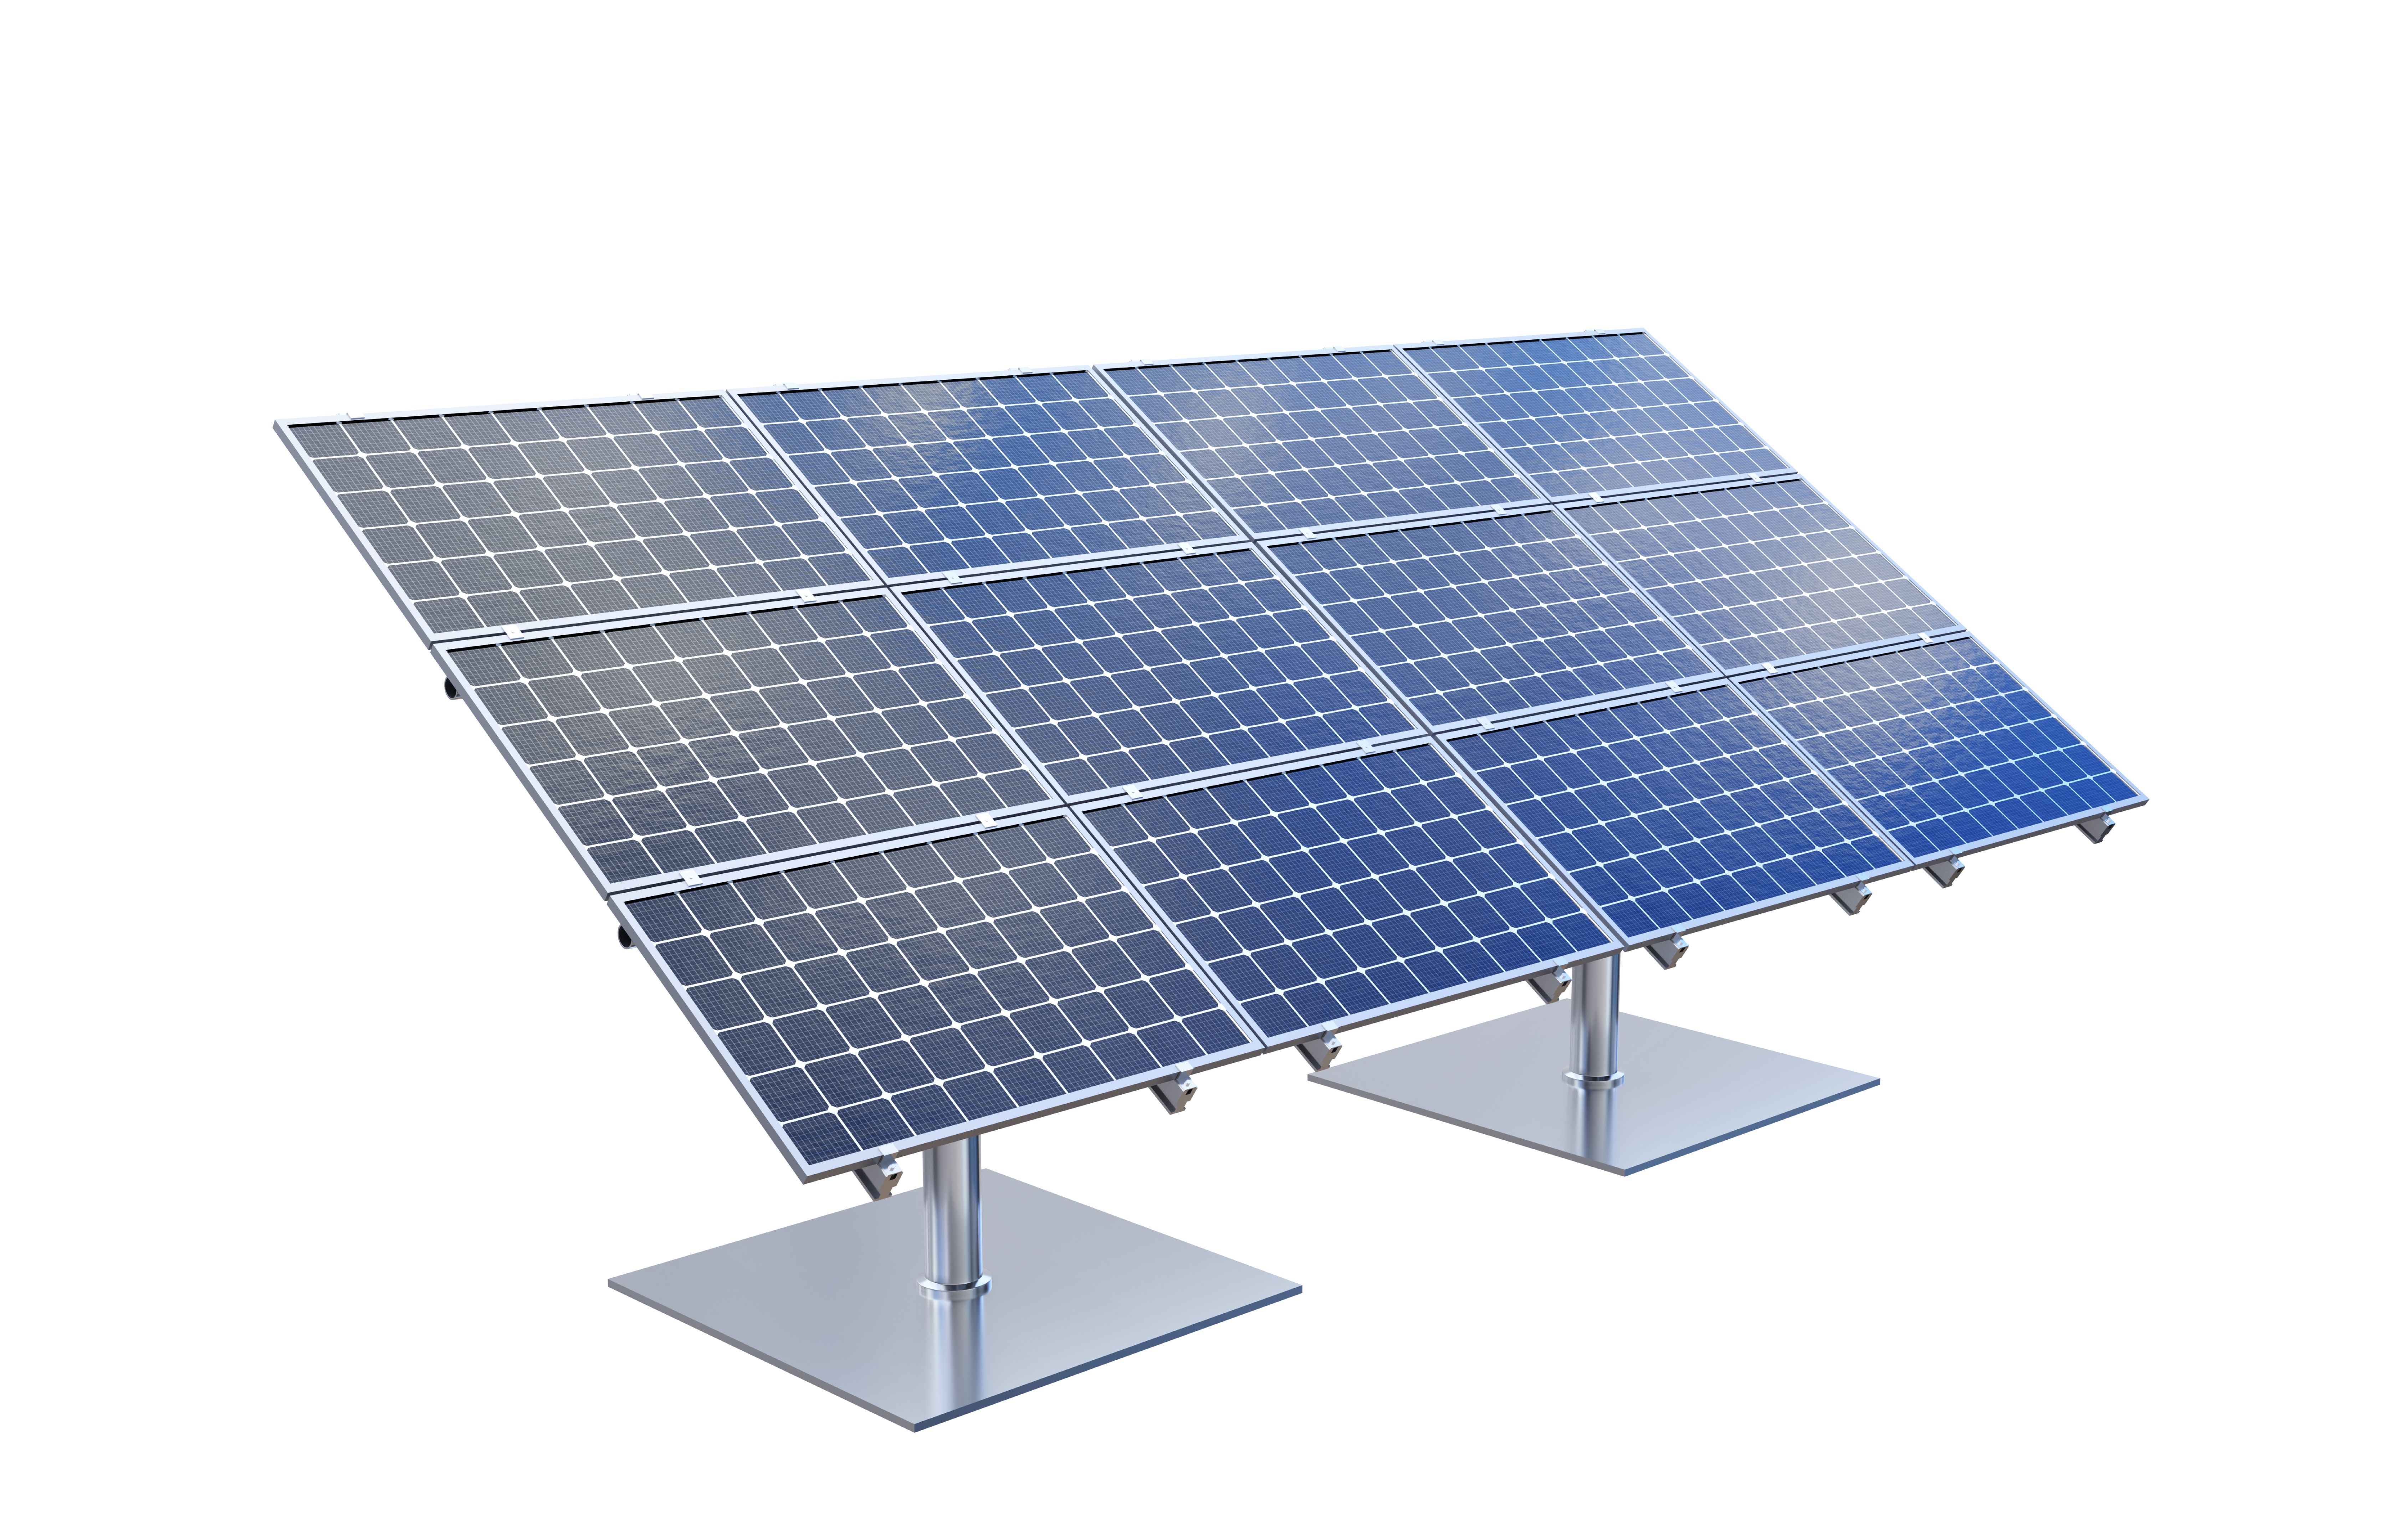
Choosing the right solar panels for your home is a crucial step. Panels come in various sizes, efficiencies, and price ranges. Consider factors such as the size of your roof, your average electricity consumption, and your budget. Research different types of solar panels, including monocrystalline, polycrystalline, and thin-film panels, to determine which is best suited for your needs.
Calculating Your Energy Needs
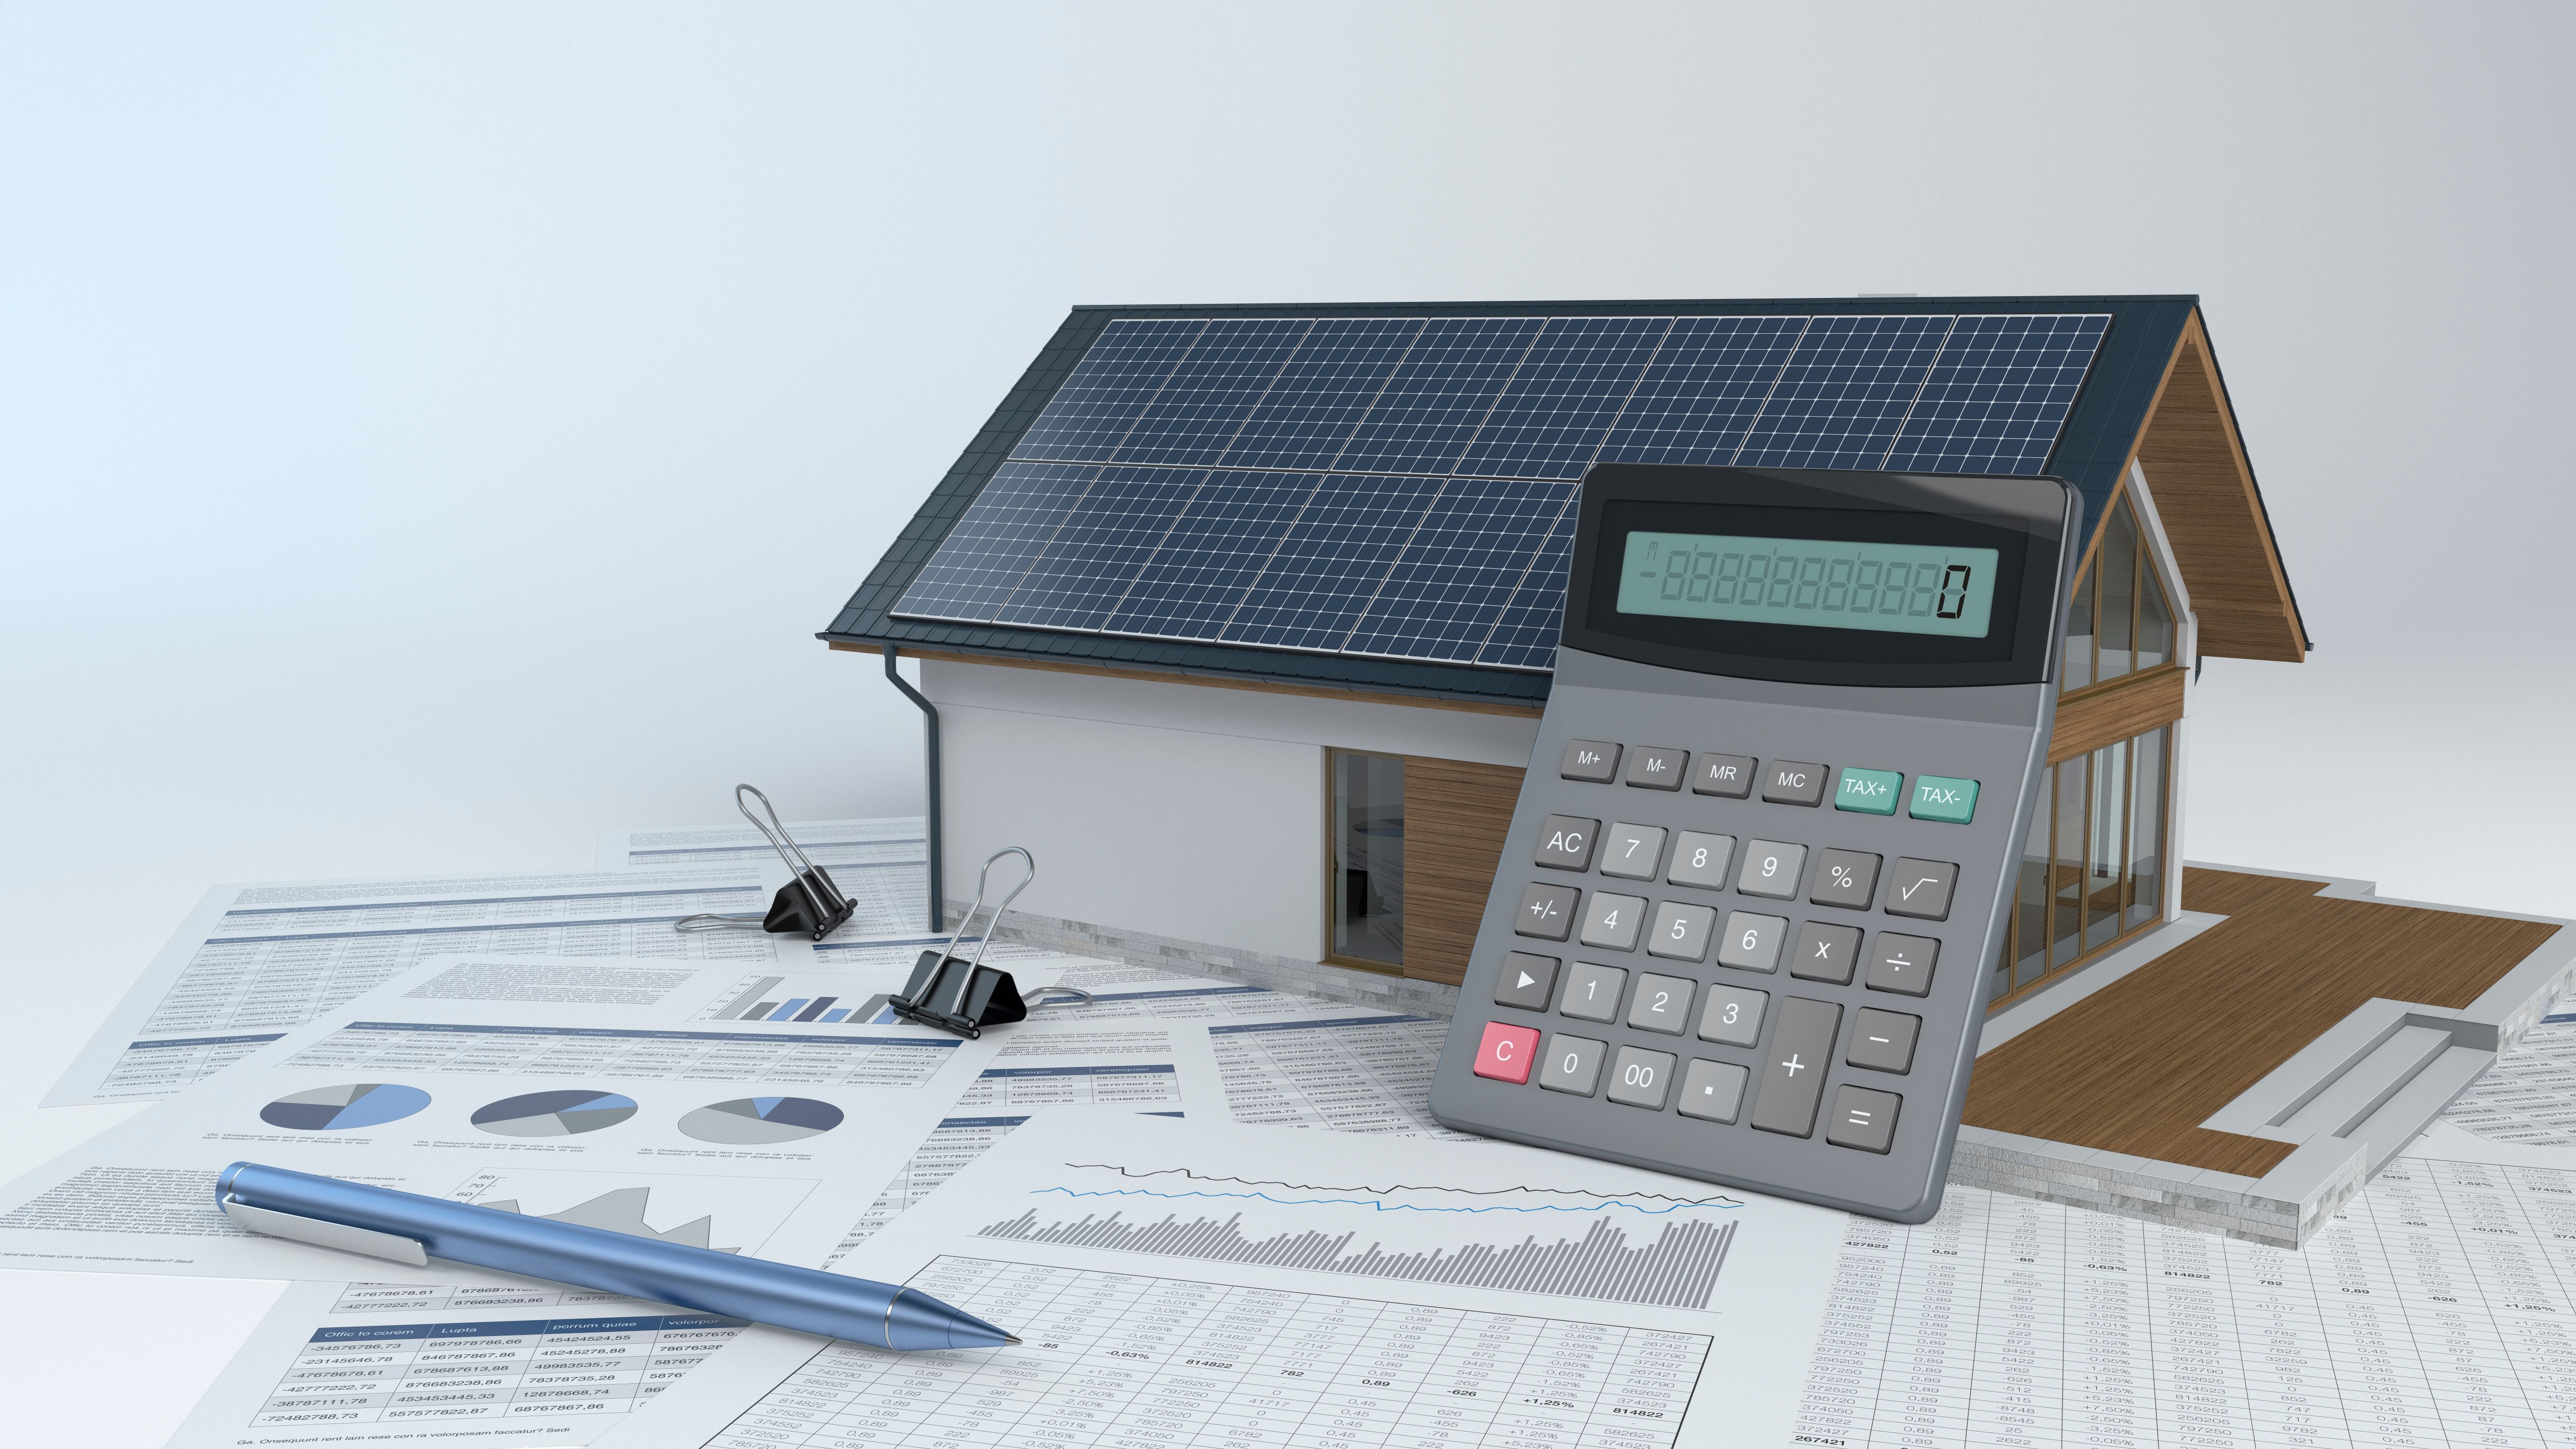
To ensure your solar panels produce enough electricity, calculate your household's energy consumption. Check past electricity bills to determine your average monthly usage. This information will help you decide how many panels you'll need and the total capacity required to meet your energy needs.
Preparing for Installation
Before installing solar panels, prepare your roof and gather necessary tools and materials. Ensure your roof is in good condition to support the panels and that there are no obstructions blocking sunlight. You'll need tools like a drill, ladder, and safety harness, as well as materials such as mounting brackets and wiring.
Understanding Local Regulations
It's important to check local building codes and regulations before starting your project. Some areas require permits for solar panel installation, and there may be specific guidelines you must follow. Contact your local government or utility company to ensure compliance with all requirements.

Installing the Solar Panels
Once you have all the tools and materials ready, it's time to install the panels. Follow these general steps:
- Secure the mounting brackets to the roof using a drill and appropriate fasteners.
- Attach the solar panels to the mounting brackets, ensuring they are securely fastened.
- Connect the solar panels together using wiring, following the manufacturer's instructions.
Connecting to the Inverter
The inverter is a critical component that converts the solar panels' DC electricity into AC electricity for home use. Connect the wiring from the solar panels to the inverter, ensuring all connections are secure. Consult the inverter's manual for specific instructions on proper installation.
Ensuring Safety and Efficiency
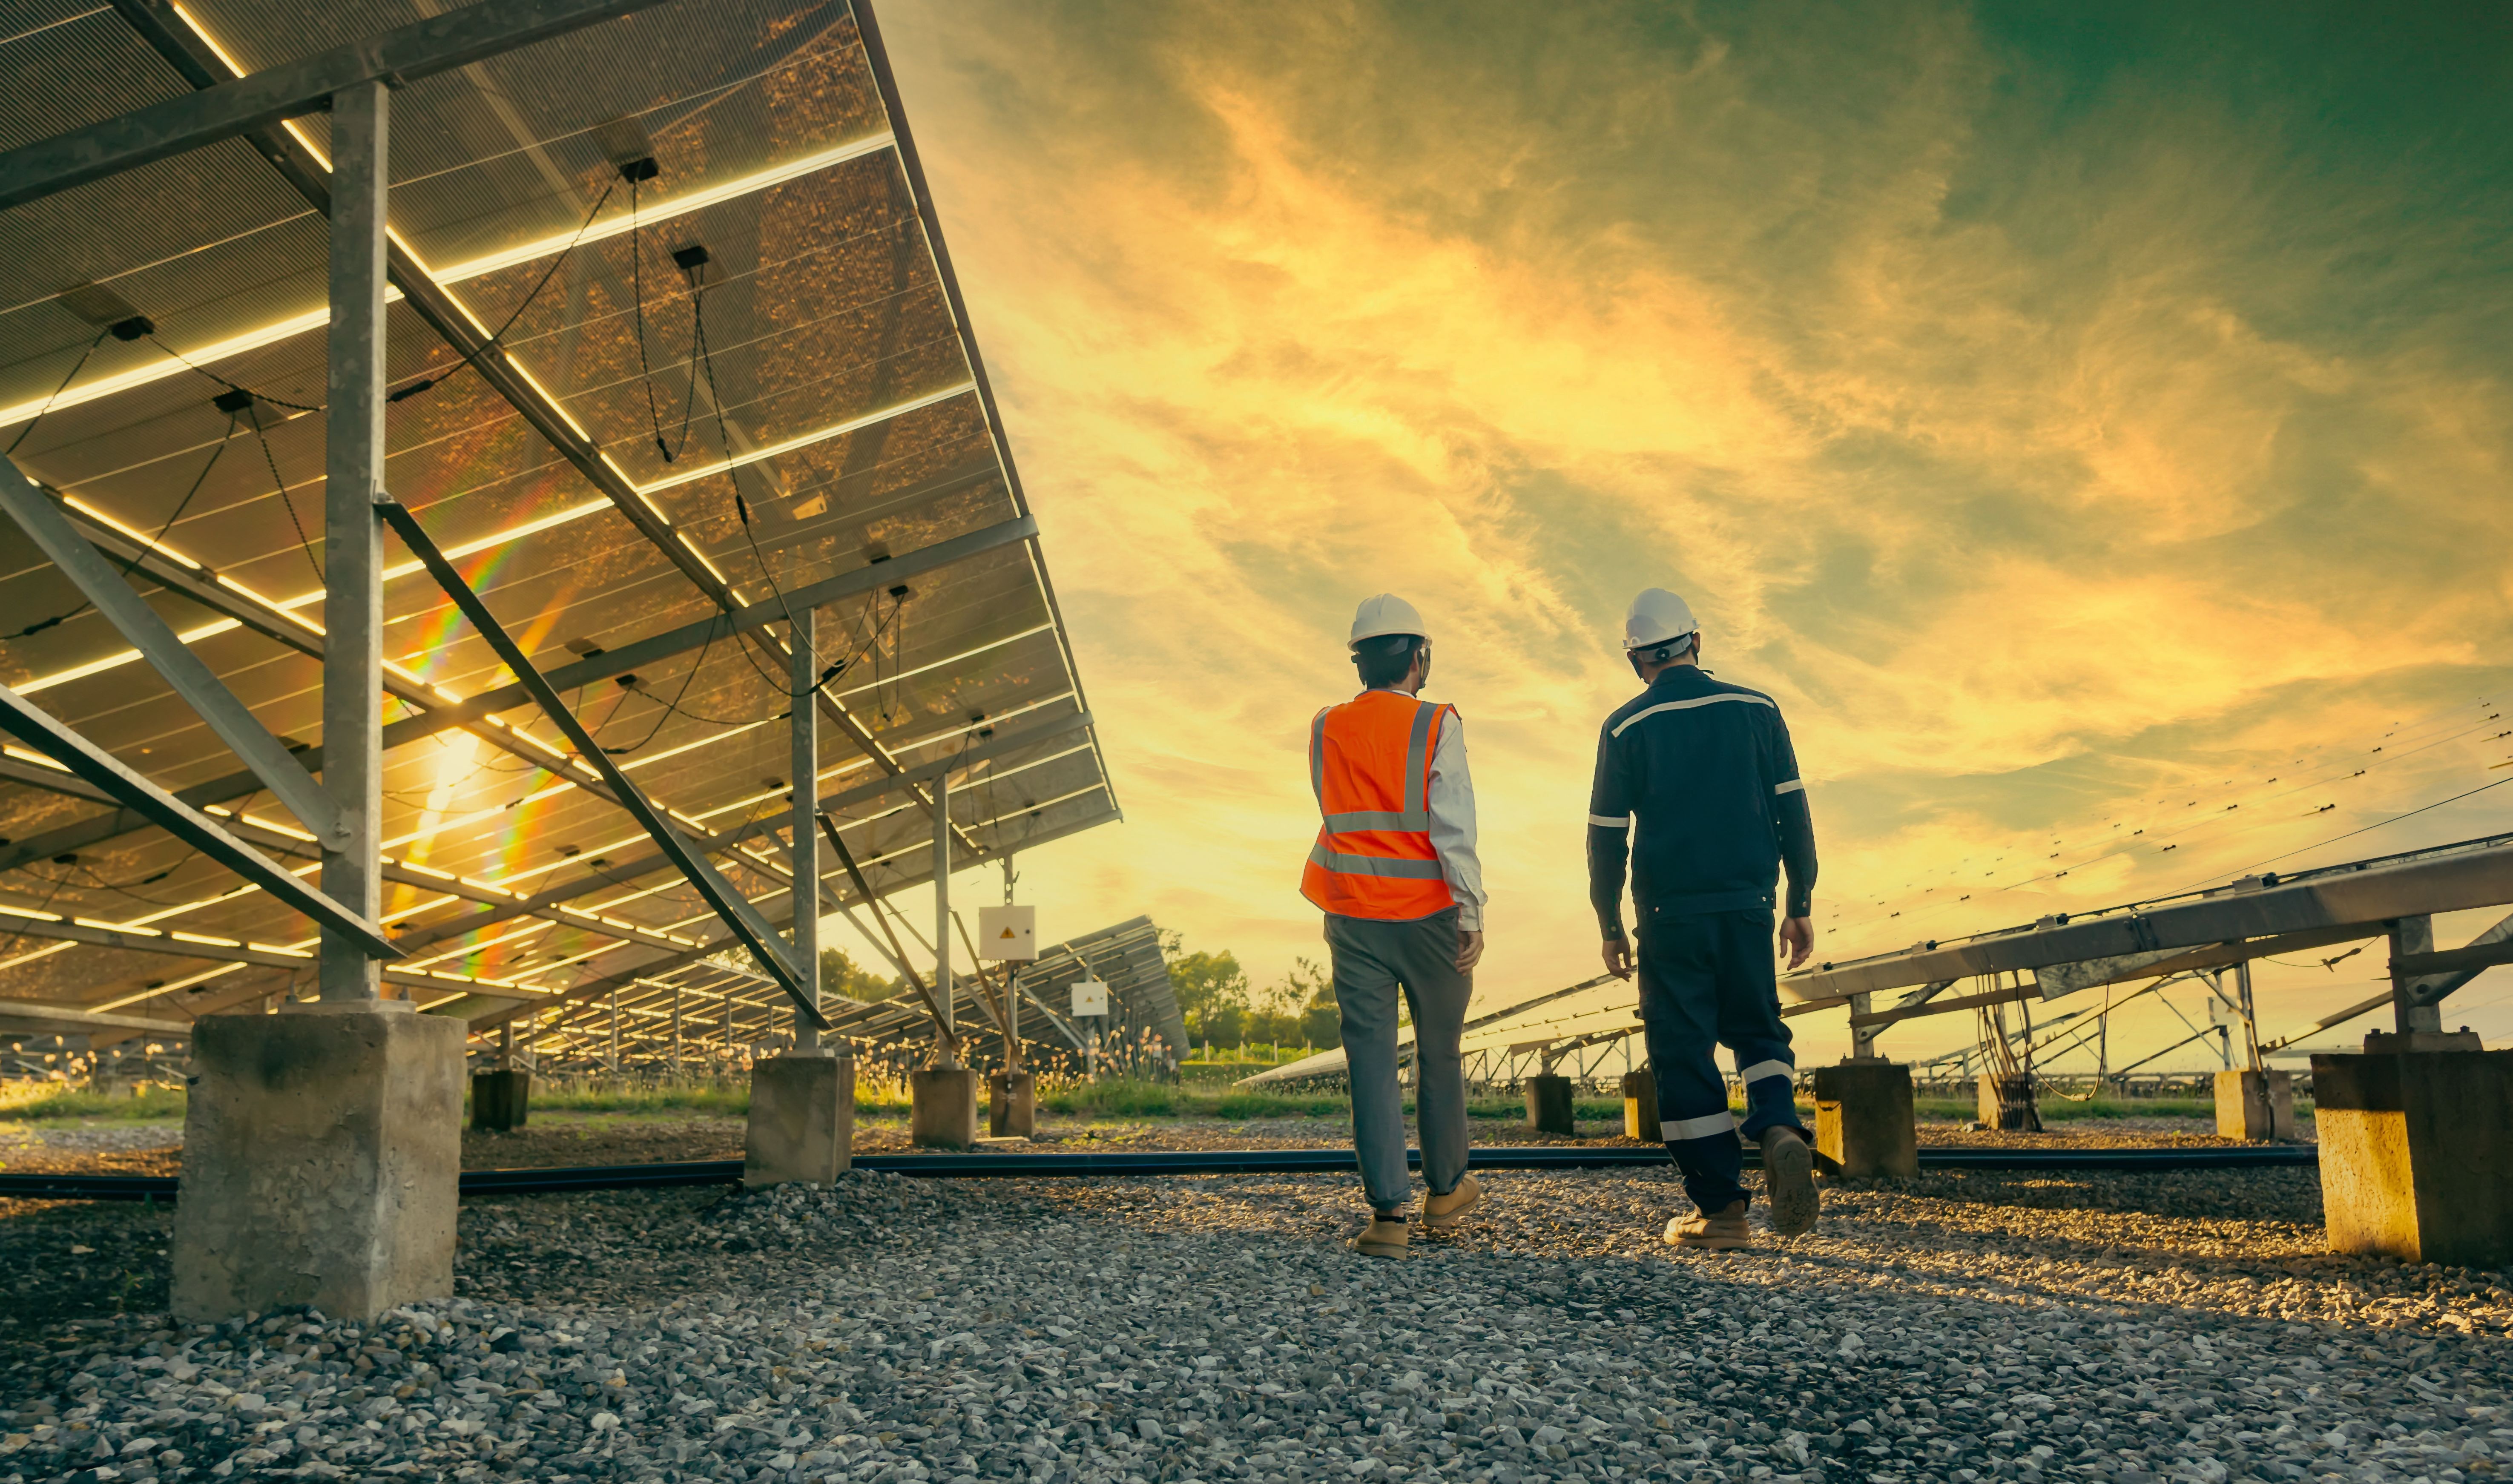
Safety is paramount when working on a DIY solar project. Always use a safety harness when working on the roof and ensure all electrical connections are secure to prevent accidents. Once installed, regularly inspect your system for any damage or wear to maintain efficiency.
Monitoring Your Solar System
After installation, monitor the performance of your solar system regularly. Many inverters come with monitoring apps that allow you to track energy production and consumption in real time. This helps ensure your system operates efficiently and provides the expected energy savings.
By following these steps, you can successfully complete a DIY solar project and enjoy the benefits of clean, renewable energy at home. Remember to prioritize safety and compliance with local regulations throughout the process.